Invoice Configuration
In ReachOut, you can raise professional invoices, so your customers can accept payments once a job has been completed. The information shown on the invoice can be configured and personalized based on their business preferences.
Setting up invoices is crucial while getting your ReachOut account ready. To get started with the initial setup of invoicing,
- Go to Settings and in the Preferences tab, select Invoice.
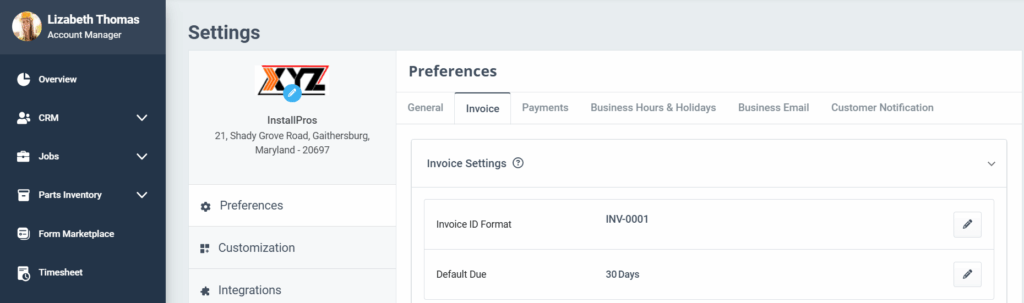
- Configure the Invoice ID Format. Example: INV-0001.
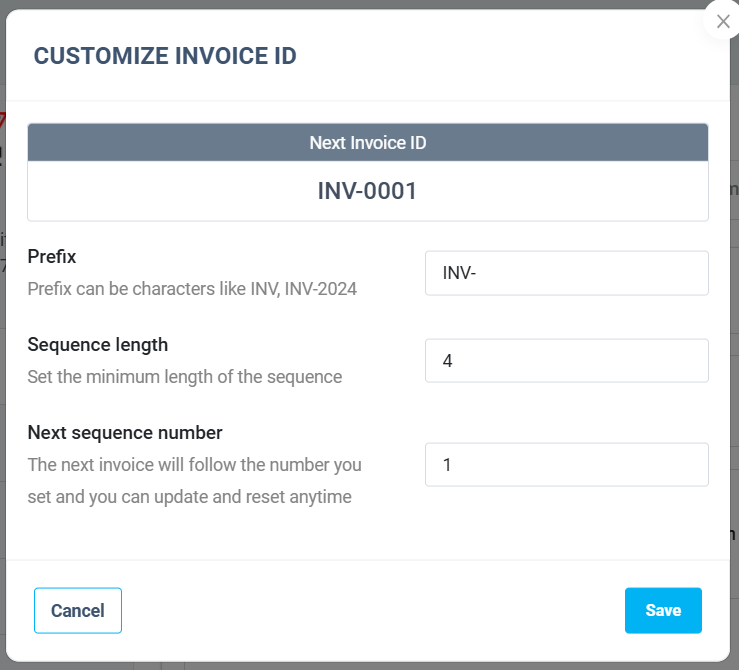
Click on the Edit icon to open the Customise Invoice pop-up. In this window, you can set the invoice’s Prefix, Sequence Length, and Next Sequence Number.
Note:
- The sequence length is the minimum number of digits required after the prefix (e.g., INV-0001). Subsequent invoices will generate the sequence part incrementally. The system automatically adds the prevailing zeroes to maintain the minimum sequence length.
- If you want the invoice to begin with a certain number, you can provide that number in the ‘Next Sequence Number’ field.
- The next invoice number will be displayed for your reference.
- Set the default number of due days for an invoice in the ‘Default Due’ field.

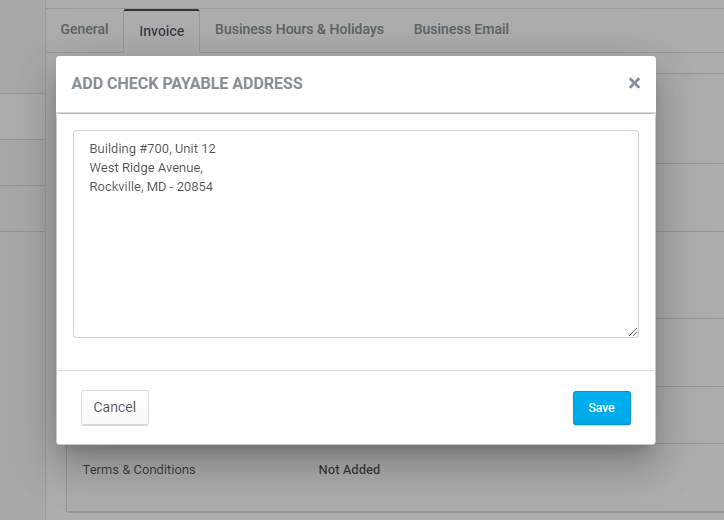
- You need to add the default information and terms attached to all the invoices you create and send to customers. Click the Edit icon on each section – From Address, Check Payable Address, Bank Details, etc., enter the needed information, and click Save.
- Enter a Tax ID in the field and click the Save icon.

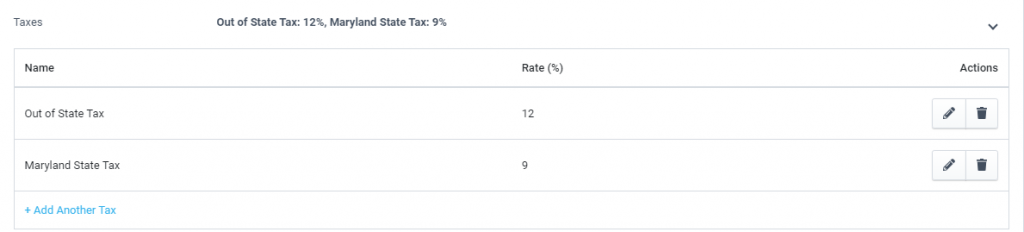
- Click on Taxes and in the drop-down, you can include new taxes by clicking + Add Another Tax.
- Under Terms & Conditions, use the text editor to add the specific terms you want to attach to the invoice. Format the text using available tools, then save it by clicking the Save icon.

Setting up your invoicing preferences in ReachOut ensures a streamlined, consistent, and professional billing process.