Configuring Asset Management
Customer assets are any valuable item, equipment, or property owned by a customer that requires installation, maintenance, service, or management. Effectively managing and maintaining these assets is crucial for ensuring optimal performance, minimizing downtime, and enhancing customer satisfaction.
Enabling Asset Management in ReachOut Account
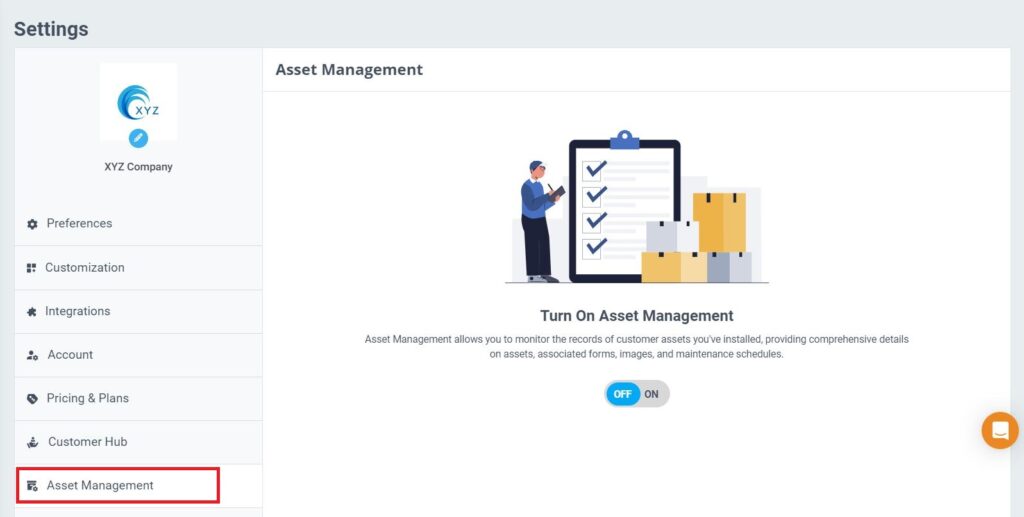
The Asset Management feature needs to be enabled to use the functionalities. It can be enabled from the Account’s Settings page.

- For this, navigate to – Settings > Asset Management
- Toggle the ON button.
- Consequently, the Asset Management-related modules will appear on the ReachOut Application.
Creating Asset Categories
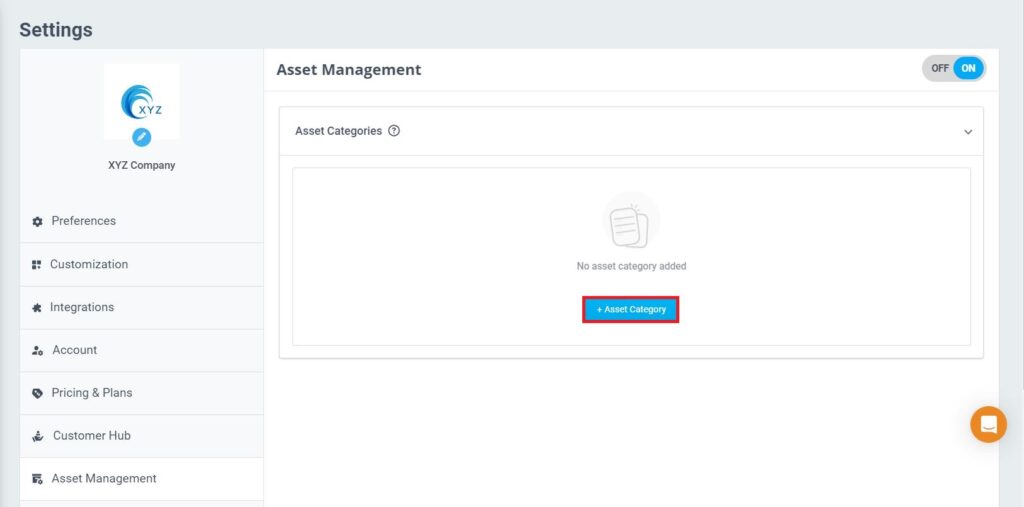
When the Asset Management is enabled in Reach Out, you may start creating the asset categories.

For this,
- Click on the + Asset Category button.
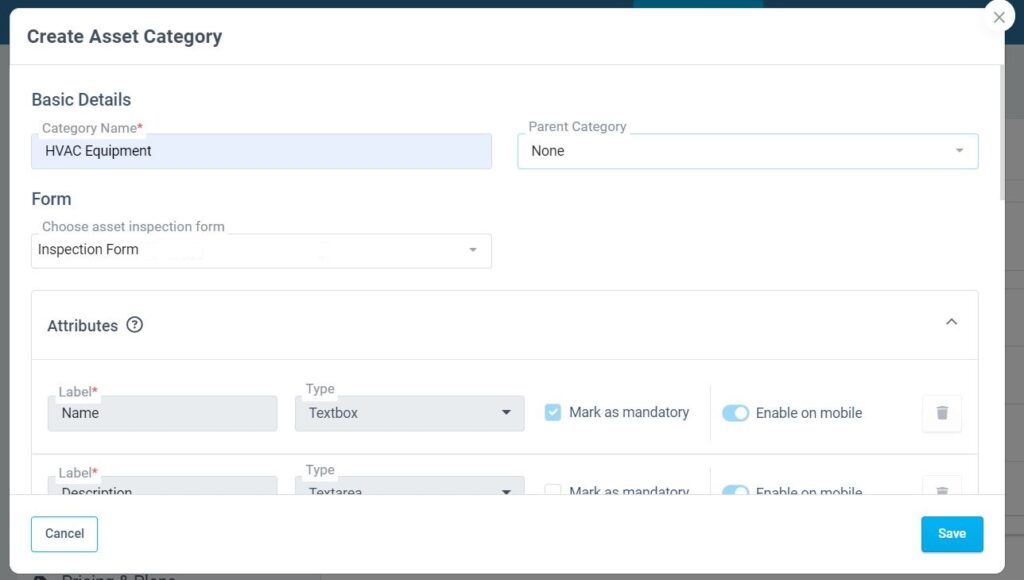
- In the Create Asset Category pop-up

- Enter a name for the category.
- Select a parent category, if required.
- Select the inspection form for the asset category. This form will be displayed when you create an inspection for the assets under this category.
- You can set the attributes that define assets in this category, like name, description, serial number, model number, cost, etc. A few attributes are suggested by default. You can modify those or delete them and add your own.
- The first two attributes—name and description—cannot be edited or removed by default. These are mandatory fields to be captured during asset registration on the Web or mobile.
- Toggle the ‘Enable on mobile’ option to enable or disable an attribute on the mobile app.
- You can set the default documents and manuals, such as a purchase receipt, warranty document, and user manual. You can modify those or delete them and add your own.
- Tick the ‘Mandatory’ option to make it mandatory to capture that document while registering assets.
- Toggle the ‘Enable on mobile’ option to enable or disable the document on the mobile app.
- To add additional documents and manuals, click on the +Add Document button.
- Click Save.
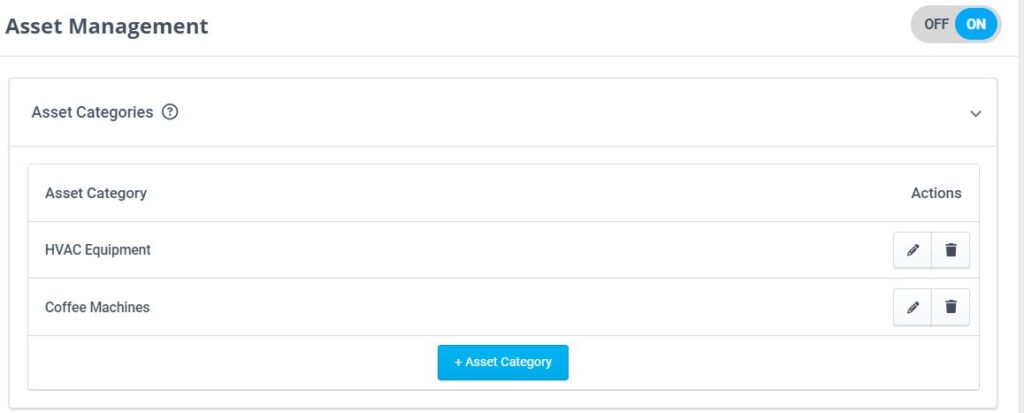
- The saved asset categories will be displayed on the Asset Management page.

Enabling Asset Creation in Mobile
The Asset Creation in Mobile feature needs to be enabled to create assets from the ReachOut Mobile App.
For that,
- Navigate to Settings > Preferences tab
- Toggle the option to enable asset creation on the Mobile App

Now, you can start registering customer assets to your account from both Web and Mobile apps.