Configuring Customer Hub
The Customer Hub is a platform through which ReachOut Administrators/Service Providers can offer their customers a convenient way to raise service requests, track status, and follow up on Jobs. A direct URL to the Service Request Form can be shared with the customers or be directly embedded to the Service Provider’s website. It enables direct communication between the ReachOut Accounts and their respective Customers or Leads.
Enabling Customer Hub in ReachOut Account
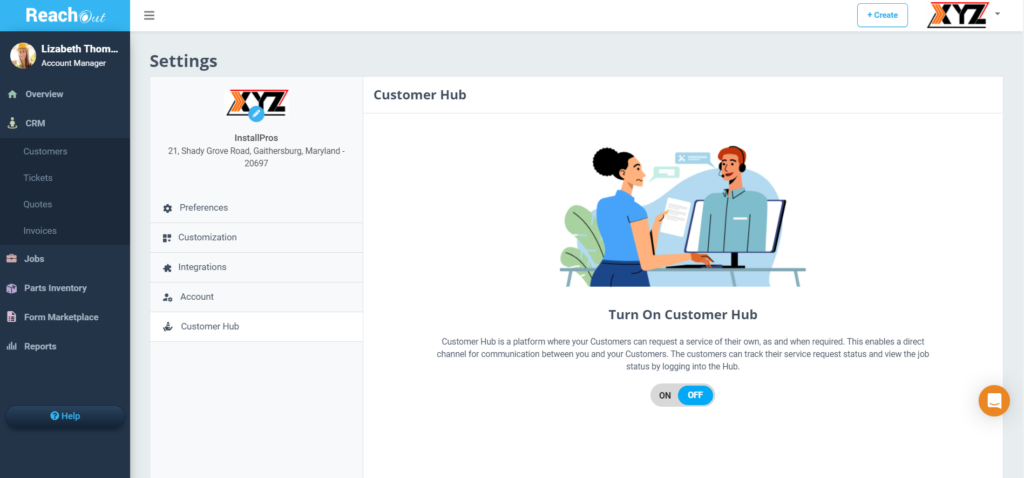
Customer Hub can be easily enabled from your Settings page.
- For this, navigate to – Settings > Customer Hub
- Toggle the ON button.
- Consequently, the Leads and Requests menus will appear in the CRM section on the side main menu.
Configuring Customer Hub
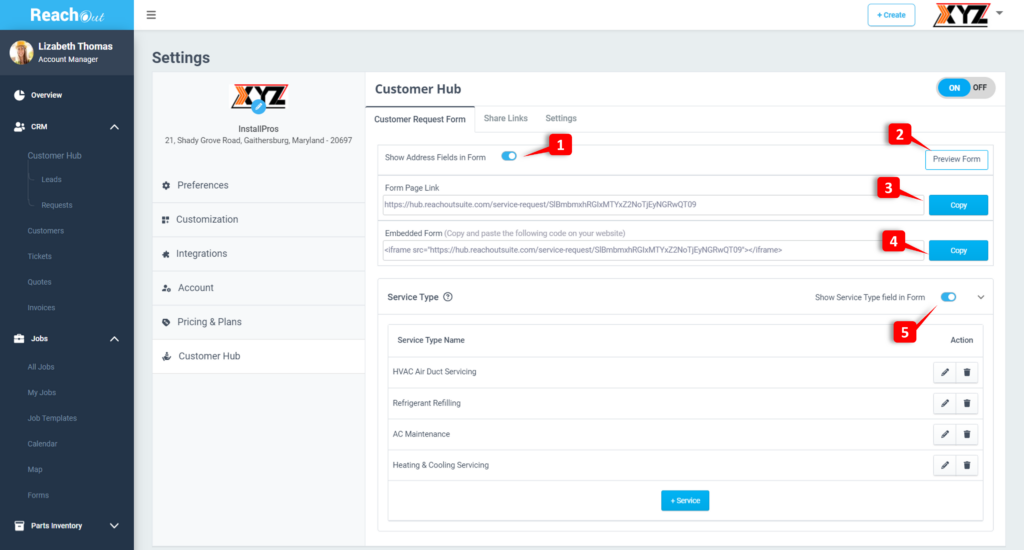
Once the Customer Hub is enabled, the Service Request Form can be set up. The Service Request Form is the form that your customers fill out to request access to the desired service.
- Toggle the ‘Show Address Fields in Form’ option if the address fields (Address line, City, State, and Zip Code) need to be displayed in the Service Request Form.
- Click on the Preview Form button to preview the Service Request Form.
- Click on the Copy button in the ‘Form Page Link’ section to copy the Service Request Form page URL and share it with the customers directly, allowing them to fill out the Service Request Form.
- Click the Copy button in the ‘Embed Form’ section to copy & paste the embed code to embed the Service Request Form to the service provider’s website.
- Toggle the ‘Show Service Type field in Form’ option in the Service Type section to enable the selection of the service type while submitting the requests.
- Once the Service Type Is enabled, the desired services offered by the Account can be added. At least one Service Type must be entered in this section to toggle it and make it visible in the Service Request Form.
- To add a new service to display on the Service Request Form, simply click on the +Service button.
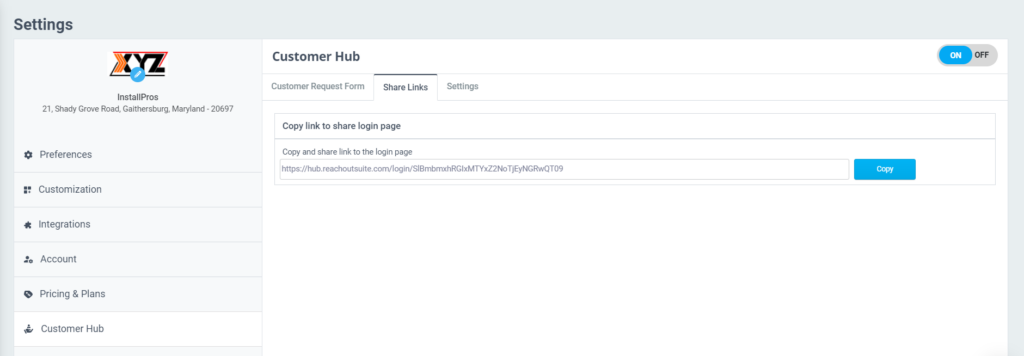
- Service Providers can copy the Login page link provided in the Share Links section and share it with their customers.
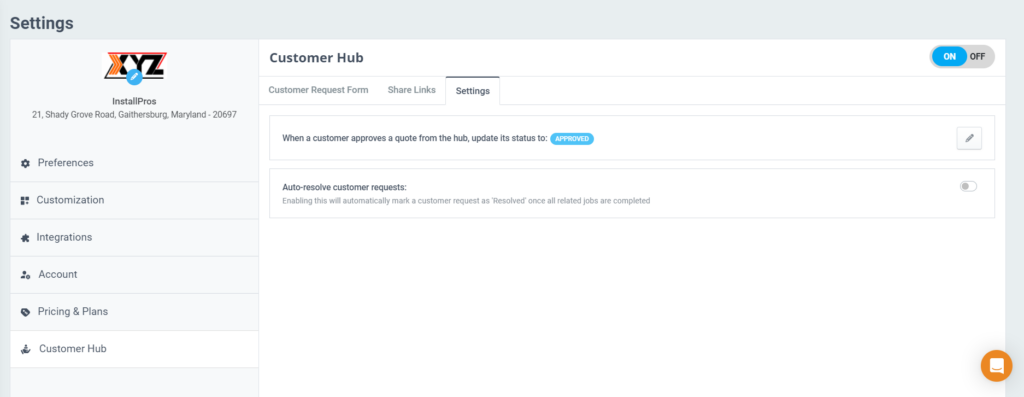
- From the Settings tab, click on the Edit icon to configure the status when a customer approves a quote from Customer Hub.
- Enable the ‘Auto-resolve customer requests’ option to automatically mark a customer request as ‘Resolved’ once all related jobs are completed