Customer Creation on Mobile
Field agents can use the mobile app to create and manage customers, while at work, provided the Administrator enables the customer creation feature from Web App.
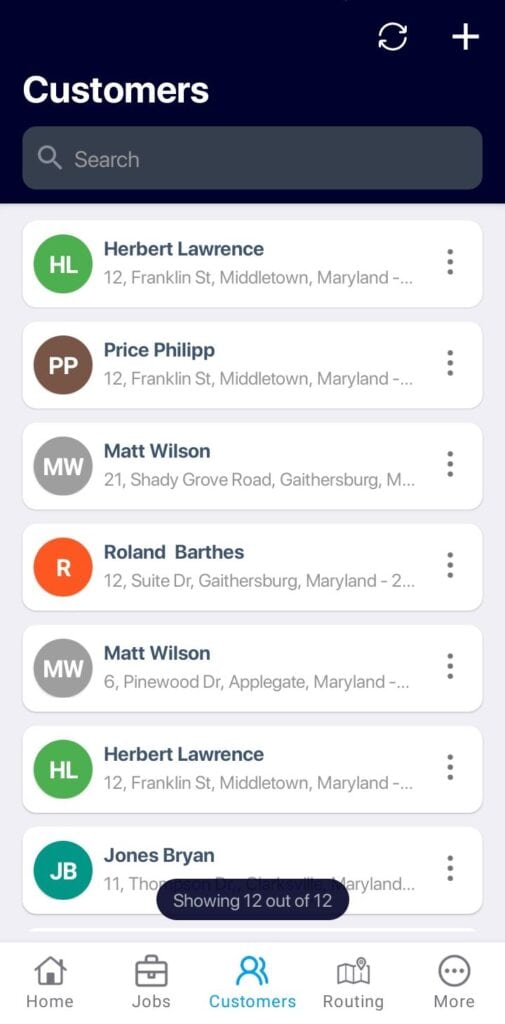
Tap on the Customers menu from the home screen to view the list of customers.
Adding Customers
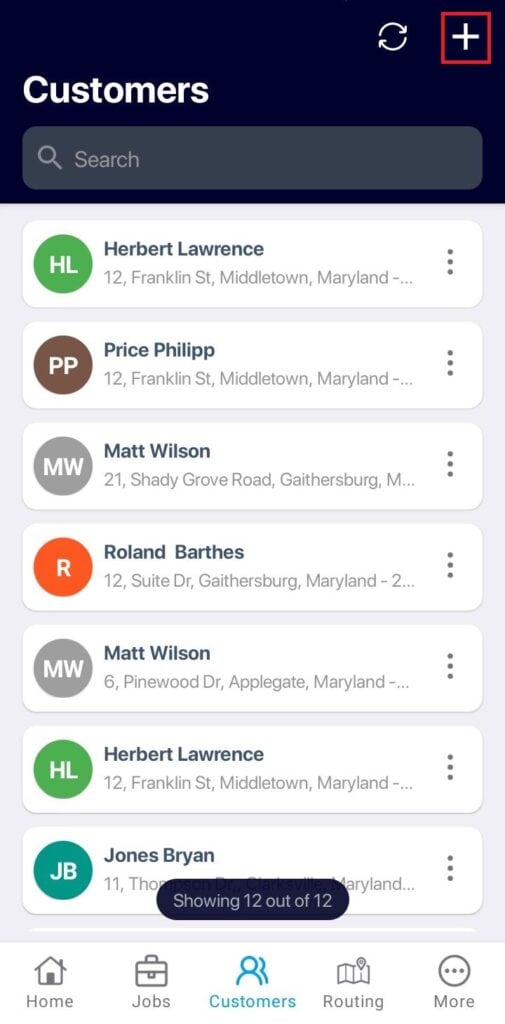
Click the ‘+’ button in the Customers list to add a new customer.
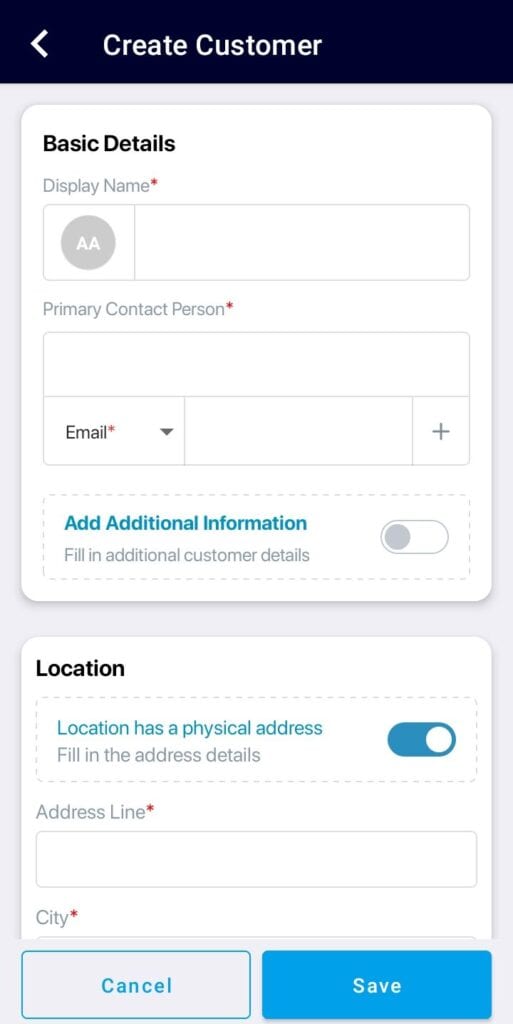
In the Create Customer screen, enter the basic details such as display name, and primary contact details.
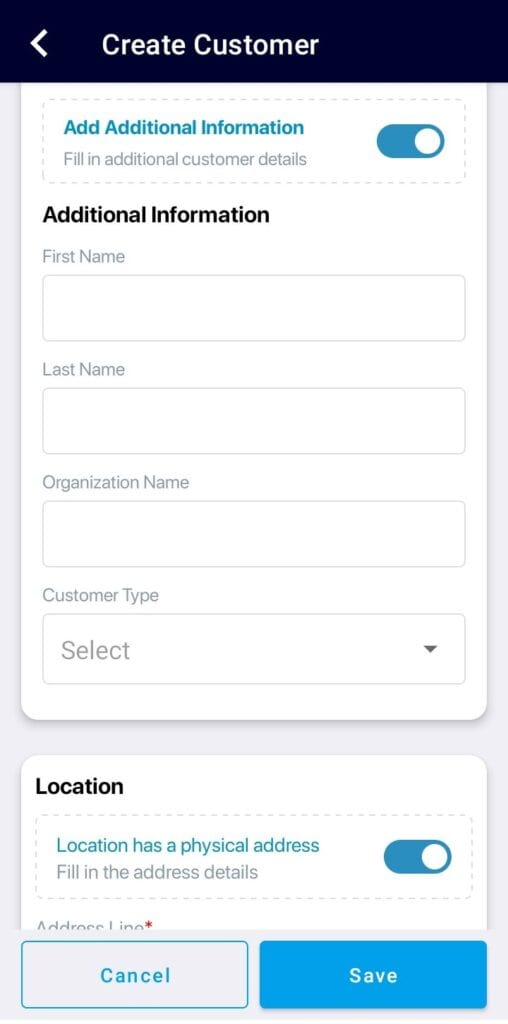
Toggle the ‘Add Additional Information’ option to add information like First Name, Last Name, Organization Name, and Customer Type.
By default, you may enter the customer’s primary location details such as Address Line, City, State, Zip Code, and Location Name.
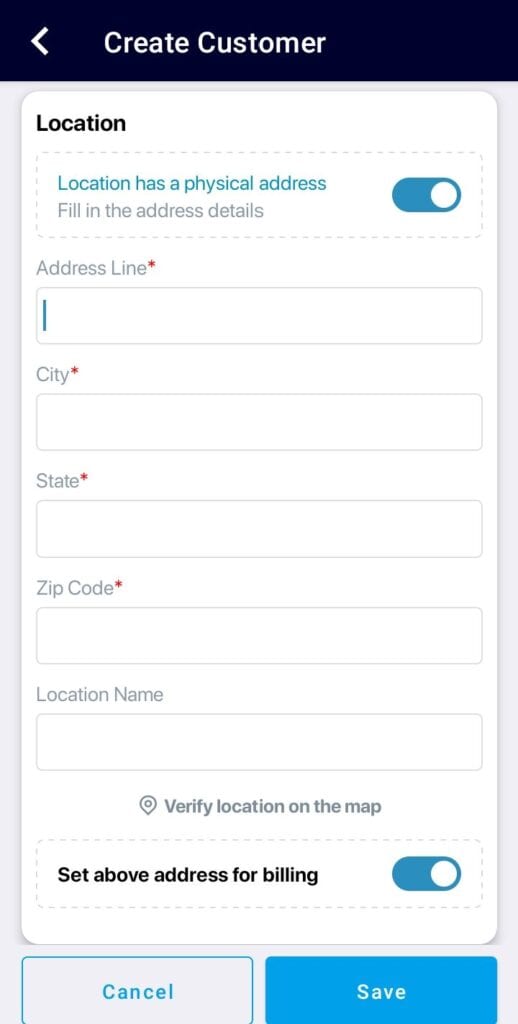
Note: If the address of the service location is the same as the billing address of the customer you may toggle the ‘Set above address for billing’ option.
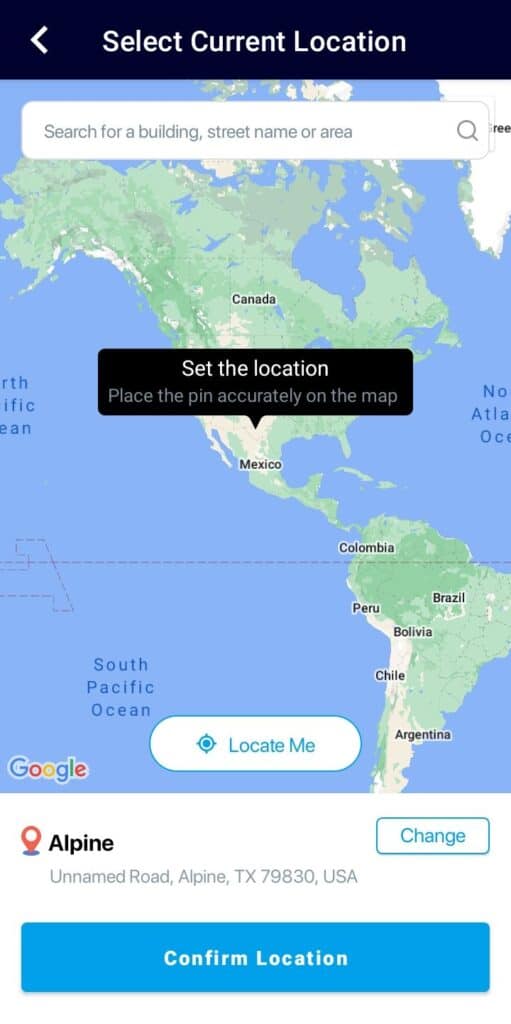
If the customer’s service location does not have a physical address, then toggle off the ‘Location has a physical address’ option and tap the Pick from map button to point the map to the customer’s location. Tap on the Confirm Location button. The latitude and longitude of the location will be displayed.
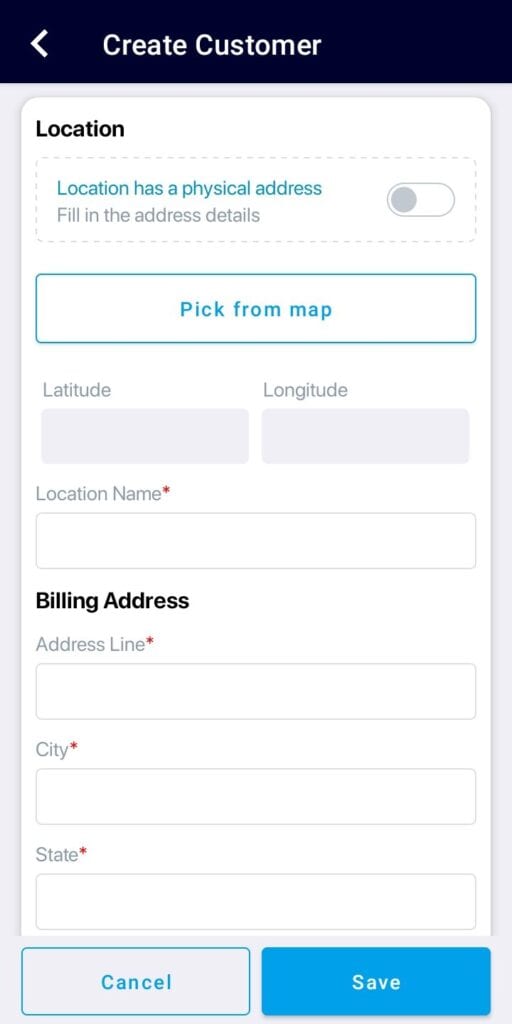
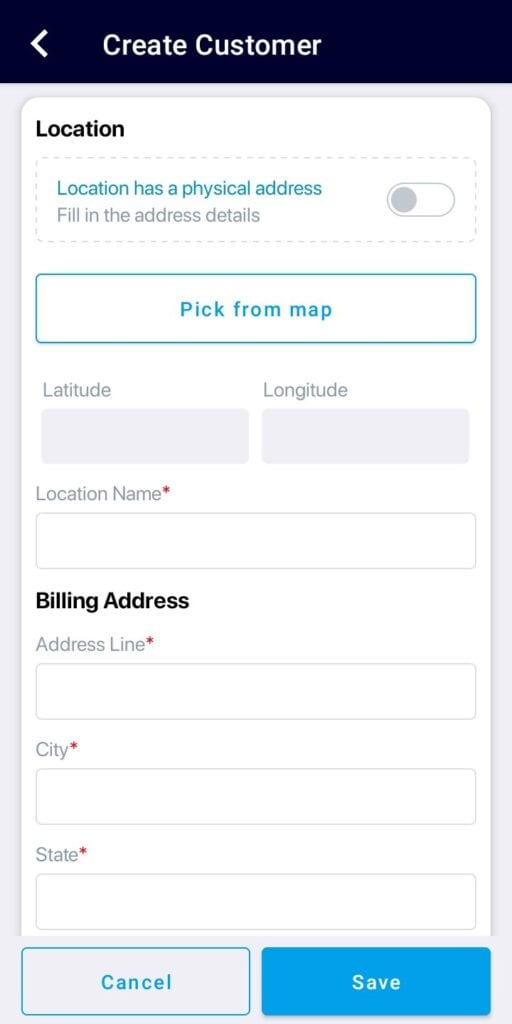
Enter the billing address of the customer in case the customer’s address is picked from the map.
Adding Location Contacts
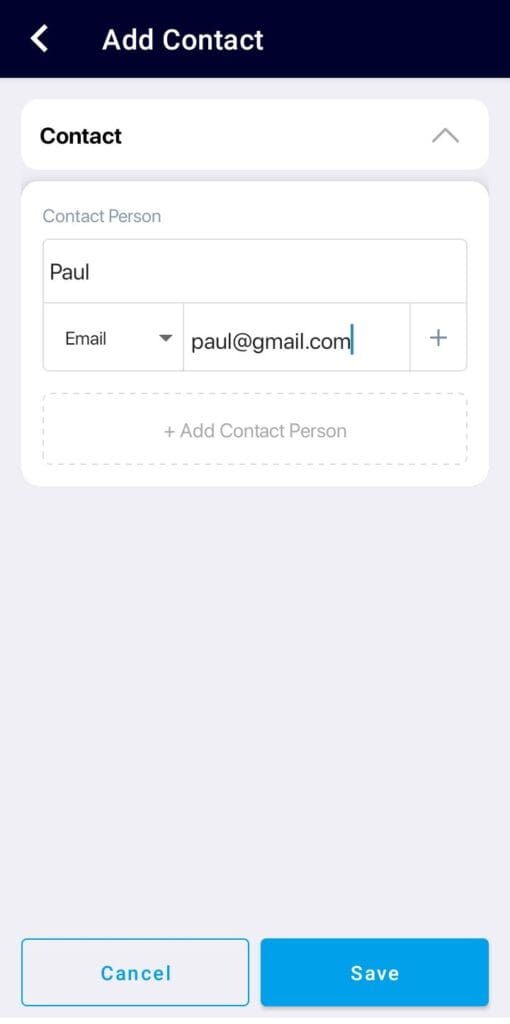
Enter the contact details of the POC at the service location.
Customers List
Tap on the Customers menu from the home screen to view the list of customers.
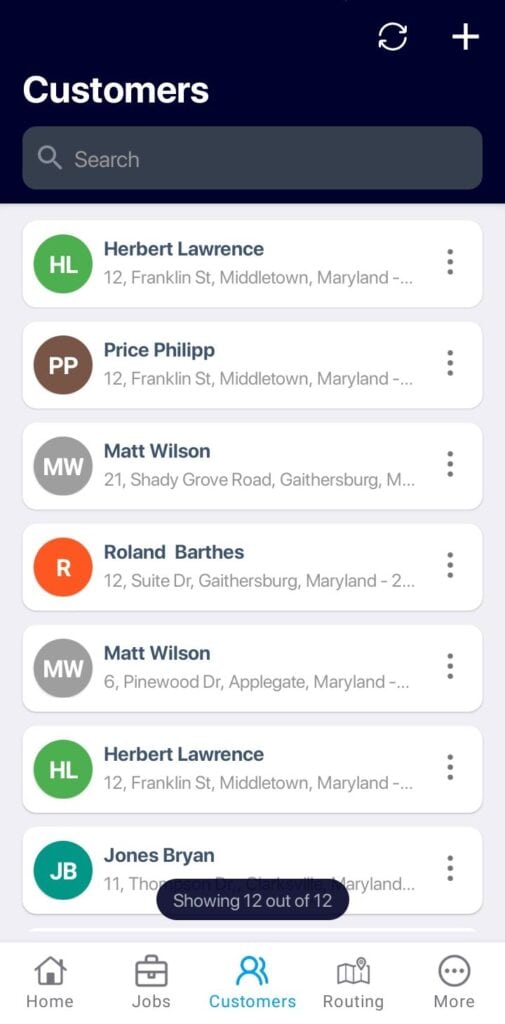
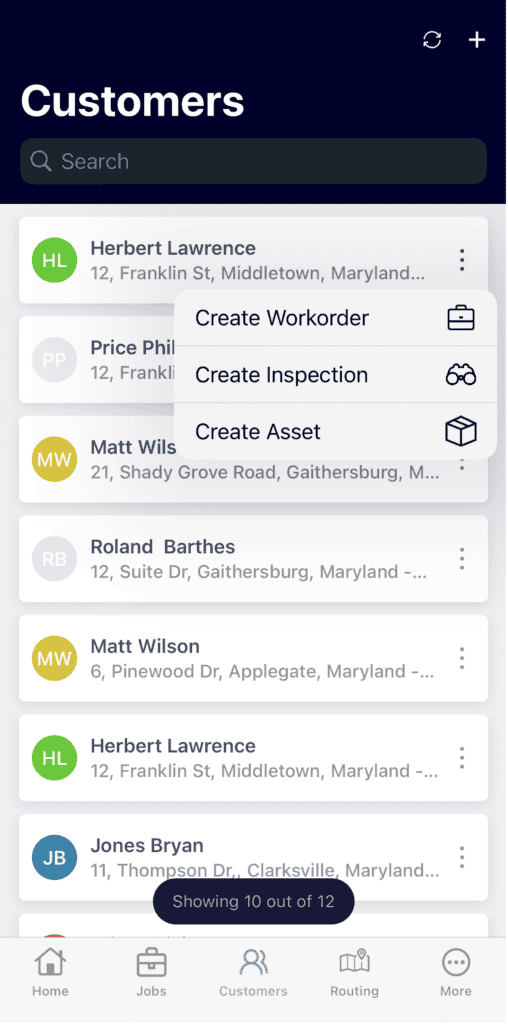
In the customer list, the name and address of the customer will be displayed. Tap the three dots (Kebab icon) to create a work order/inspection/asset for the customer in the selected location.
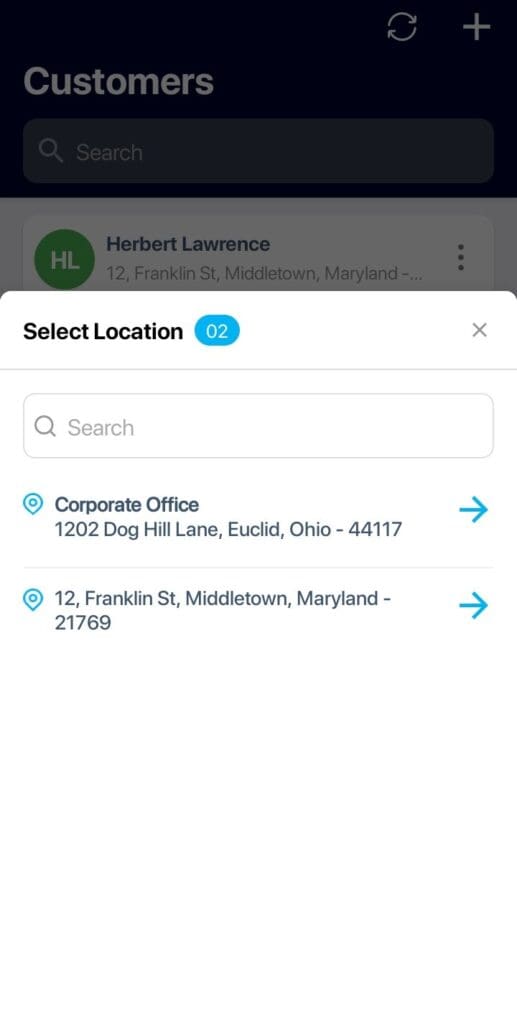
If the customer has multiple locations, you’ll be prompted to choose the relevant one from a pop-up list before creating the work order, inspection, or asset.
Tap on an item to navigate to the Customer Details page.
Customer Details
The customer details page has three tabs: Details, Assets, and Job History.
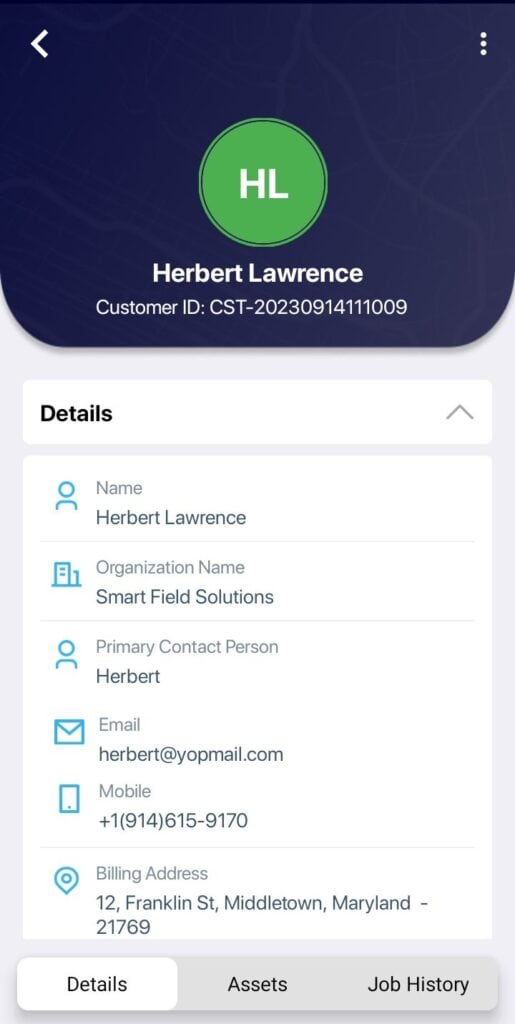
Details tab
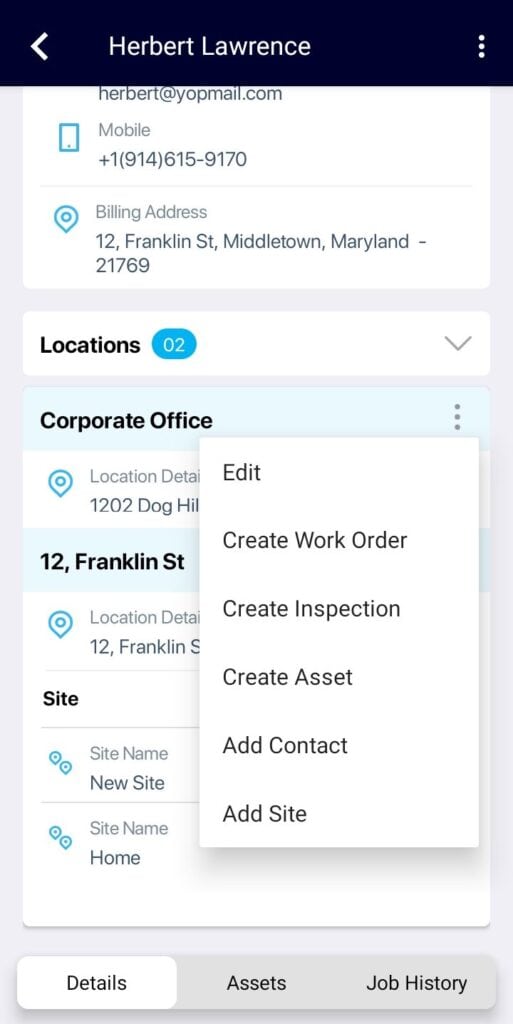
The Details tab displays the following:
- Basic details
- Primary Contact Details
- Billing Address
- Location and Sites
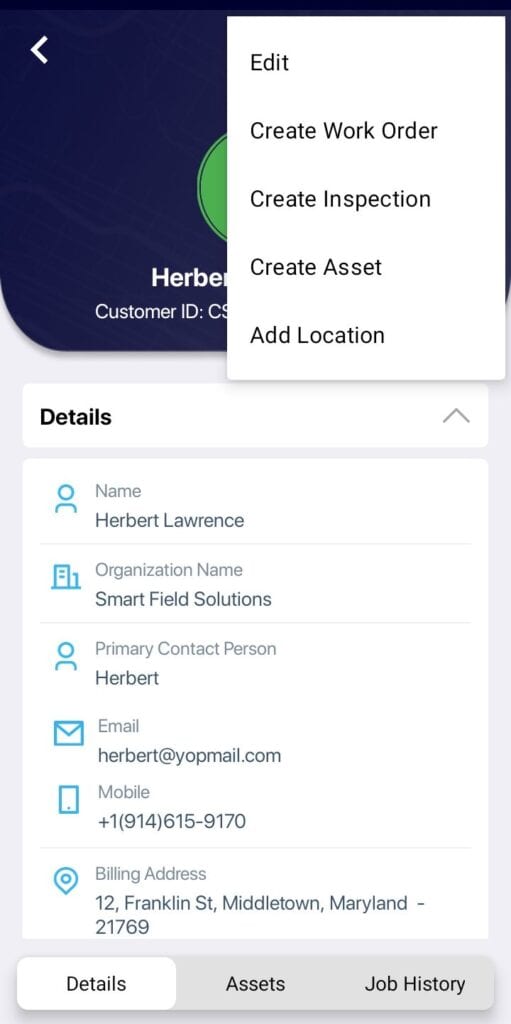
Tap on the three dots icon and select the options to edit the customer details, create a work order/inspection/asset, or add a location for this customer.
Adding customer location details
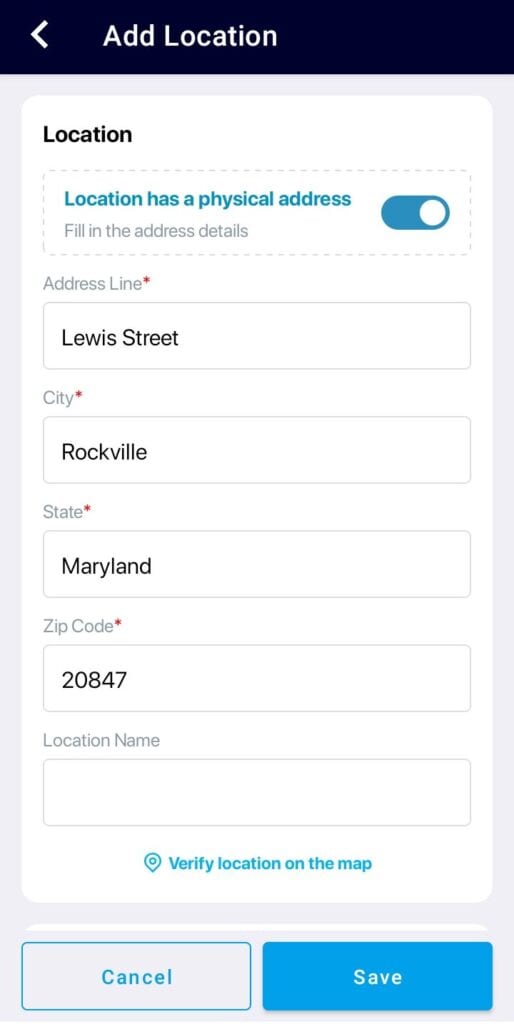
Tap on the Kebab menu and choose the ‘Add Location ‘ option to add the new customer location details.
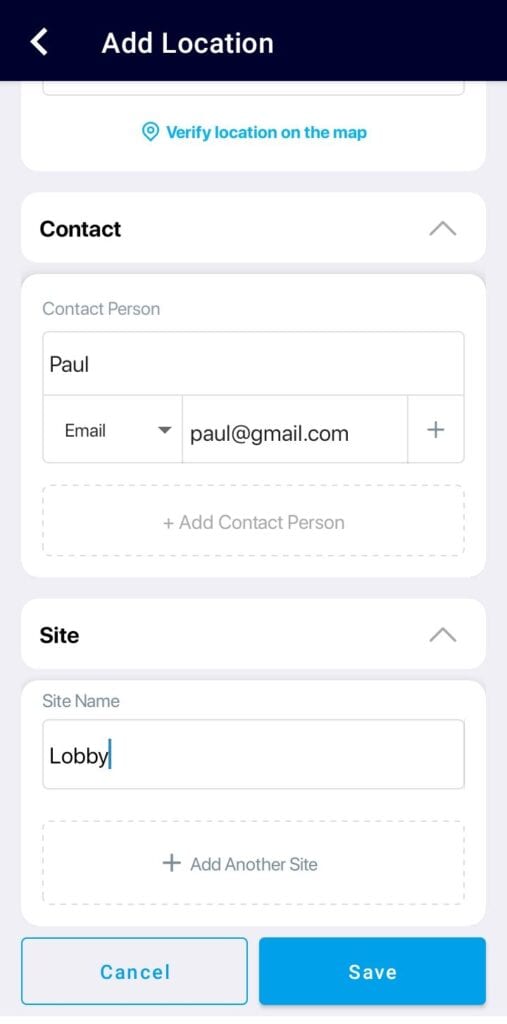
Enter the contact person and site details. You may add multiple location contacts and sites by tapping + Add Contact Person/+ Add Another Site. All the locations of the customer will be displayed in the Details tab.
Viewing Customer Assets
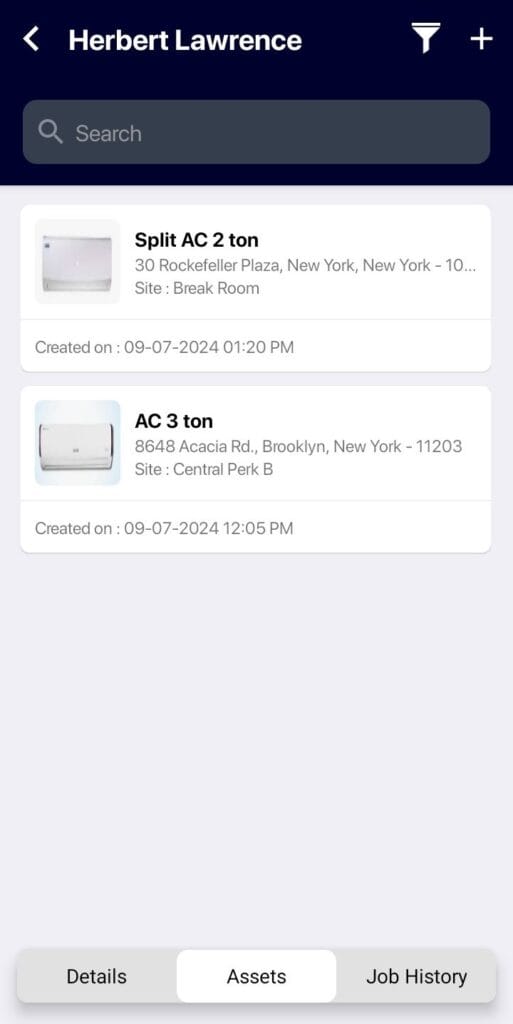
Tap on the Assets tab to view the list of customer assets. Tap on the asset name to view the asset details. Refer Registering Assets from Mobile
Customer Job History
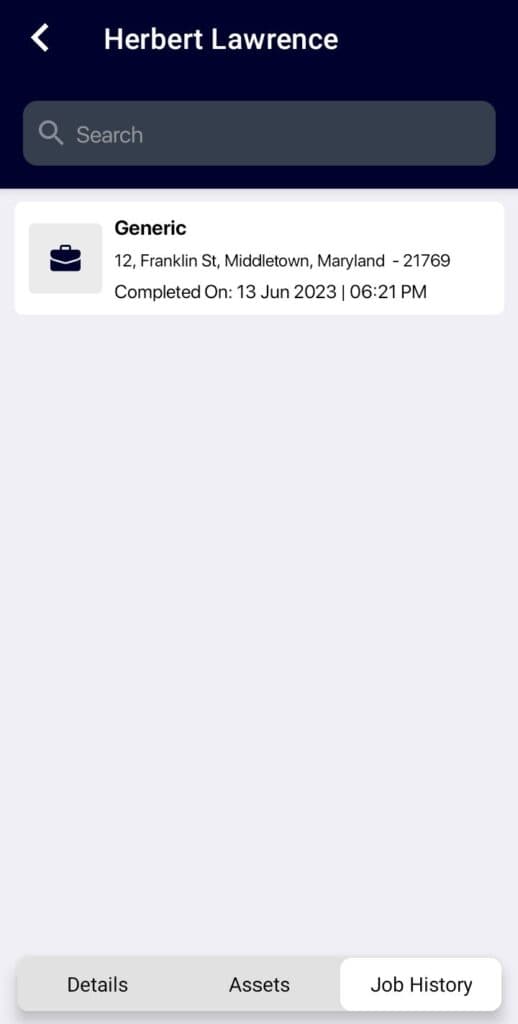
Tap on the Job History tab to view this customer’s previous jobs. Tap on a job to view the job details.
Now you can create a job for the newly added customer. Refer to Managing and Completing Jobs for more details.