Adding Parts
Now that you have added different categories, let’s see how to create and add new items to ReachOut’s parts inventory. Know more about adding categories here.
There are two ways by which you can add parts to the inventory:
- Individually add new parts
- Import parts in bulk from CSV files
Adding a New Part
To add a new part in ReachOut Inventory,
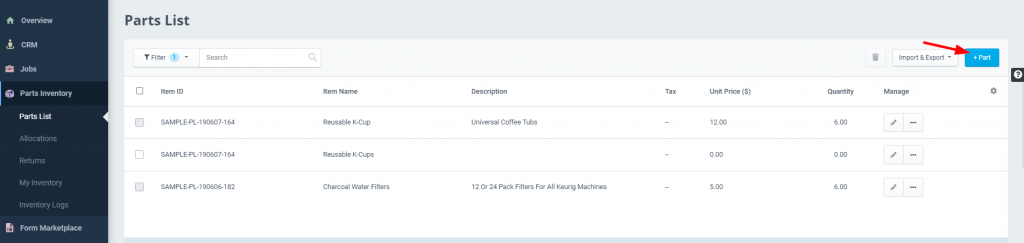
- Navigate to Parts Inventory > Parts List and click on the + Part button at the top right.
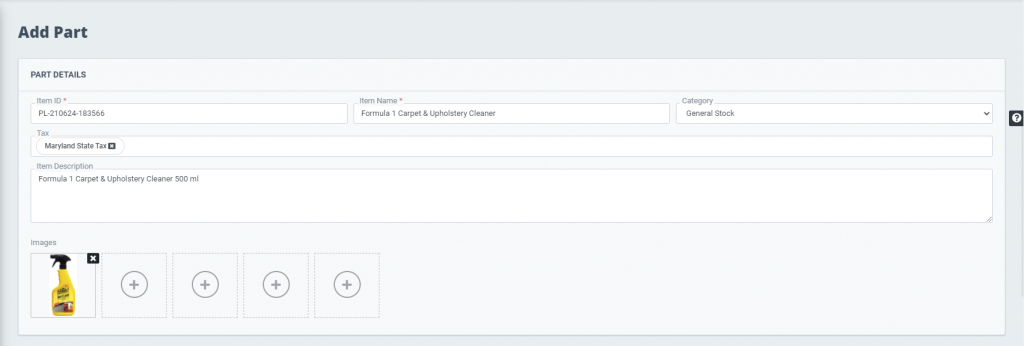
- Enter part details.
- Item ID is automatically generated. Click the ID field to change it.
- Enter the Item Name.
- Select a Category from the drop-down.
- Choose applicable Tax rates from the available options.
- Add a description of the item.
- Upload images of your item. You can attach up to five images for each item.
- Add stock details.
- Pick a Date from the calendar.
- Enter Cost, Unit Price, and Quantity of the stock.
- Include any comments if needed.
- Once you are done adding all details, click Save.
The added item can now be accessed from the Parts List module.
Importing Parts & Stock
To import parts from a CSV file into your account inventory,
- Navigate to Parts Inventory > Parts List
- Click on the Import & Export button on the top right.

- Import CSV file.
- Select Import > Import Parts in the drop-down.
- Drag & drop or Browse the CSV file (Max file size: 50 KB)
- Click Upload to import the file.
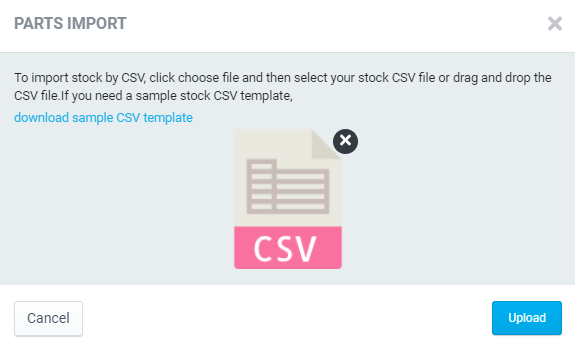
Note: We have included a sample stock CSV template in the Parts Import page that you can download to familiarize yourself with these file types and use them to import data.
You can also import Parts and Stock from your QuickBooks or Xero account. Know about it here – QuickBooks Xero.
If you face any issues or are unable to import parts, please contact our support team.