Customize your App Settings
ReachOut can be configured to work the way you work. We recommend you change ReachOut’s default settings as soon as possible and customize them to match how your organization works.
For this, navigate to – Settings > Customization
Customers
Before you start adding customers, it’s necessary to define the type of customers that you offer service to.
- In the Customers tab, open Customer Type and click on + Customer Type
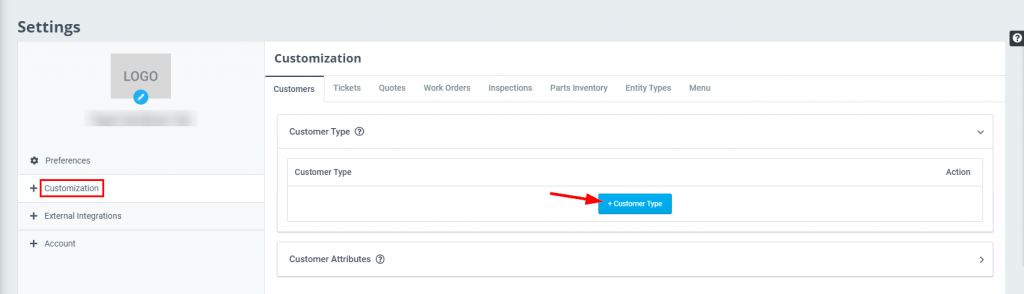
- Enter the customer type for example, residential, commercial, or governmental, and click the diskette icon.

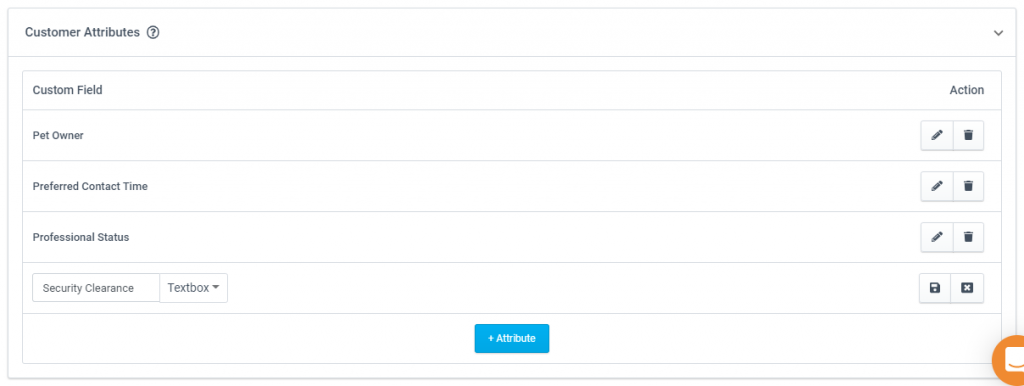
- Click Customer Attributes and enter specific characteristics for your customers using labels like gender, age group, profession, etc. to categorize them. Click the diskette icon once done.
Work Orders & Inspections
There are four global settings that control Work Orders and Inspections.
- Status
- Events
- Categories
- Attributes
To customize any of these work order settings, navigate to Settings > Customization
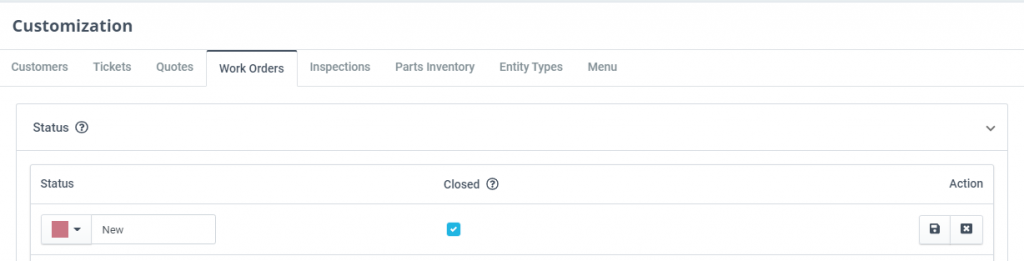
Under Customization, select the tab called Work Orders. Now you are able to change any of the settings for Work Orders.
Customizing Status
- Open section heading Status and click on + Status. Assign a color for each status, by using the color selector and enter a Status name in the text field next to it.
- Indicate if the status is to be treated as being “Closed” by putting a checkmark in the box in the Closed column and click the diskette icon to save the status.
You can also delete unnecessary statuses using the trash can icon on the left side of the row. To give a status a different name, press the pencil icon, edit the “Status Title” and save the change by pressing the diskette icon.
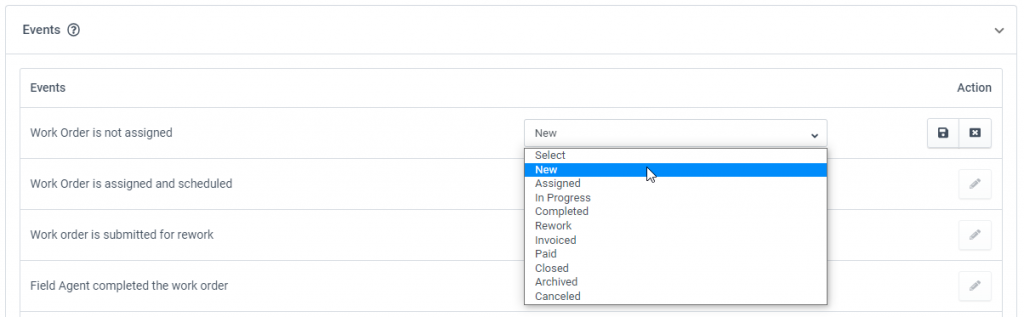
Customizing Events
Events are used to automatically change the status of a Work Order as the Work Order is acted upon by users.
- Open the Events section by clicking the header to display the Events currently assigned.
- To associate a system event with a status, click the pencil icon for the event and select the status that is to apply. Save the event by clicking the diskette icon.
Customizing Categories
Create categories and name them to classify work orders using terms that are appropriate for work orders in your organization. These categories help you sort and filter work orders in online views and in reports.
- Click on the Custom Categories section of the page to display the current category settings.
- Create new categories by clicking + Category and adding the labels in the text box. Save the new category label by pressing the diskette icon.
- Edit the name of a category by pressing the pencil icon next to it in the list. Delete a category label by pressing the trashcan icon.

Attributes
Define custom fields for listing out additional work order/inspection aspects or details.
- Open the Work Order/Inspection Attributes section and click + Attribute.
Choose between a textbox or dropdown, enter the attribute name and save the attribute by clicking the diskette icon.

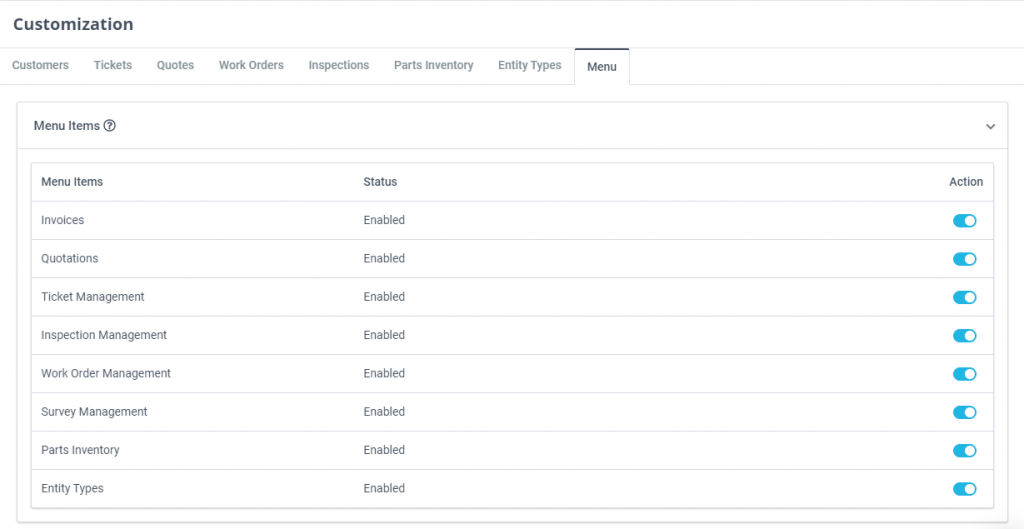
Menu
Customize how your main menu looks by choosing to display or hide menu options on the main menu bar.
- Under the Menu tab, open the Menu Items section to view the Menu Items listed.
- Toggle the button near each item to enable or disable their visibility on the main menu.