Set up your Company & Profile Info
Now that you’re familiar with the interface, it’s time to go ahead with the basic setup of your ReachOut account by adding details such as your company name, logo, and updating your user profile and those of your field personnel based on their assigned roles within your organization.
Uploading Company Logo
You can start by adding your company logo to personalize your ReachOut account. For this,
- Click on the dropdown button at the top right of the navigation bar and select Settings.

- In Settings, click on + Add and select Add Logo.

- Now, upload the chosen logo from your computer using the Browse button or simply drag and drop the file and click Save.
Your company logo will appear at the top right corner of the interface.
Adding Company Details
You can add company details such as company name and address to further customize your account. For this,
- Click on Account from the side menu in the Settings page, and under Account Settings, select the Company tab.
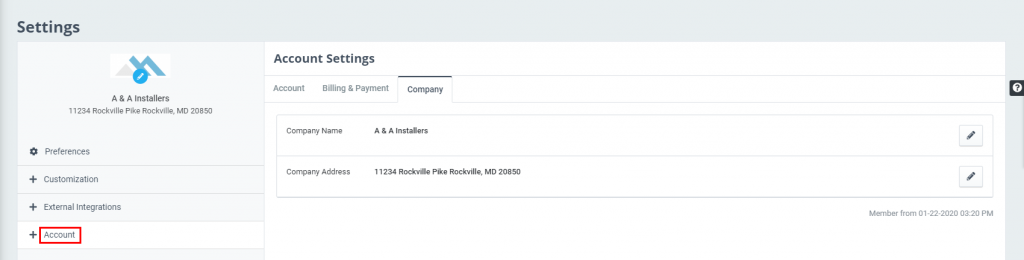
- Then, click on the pencil icon in the text fields below, enter your company name and address and click the save icon.

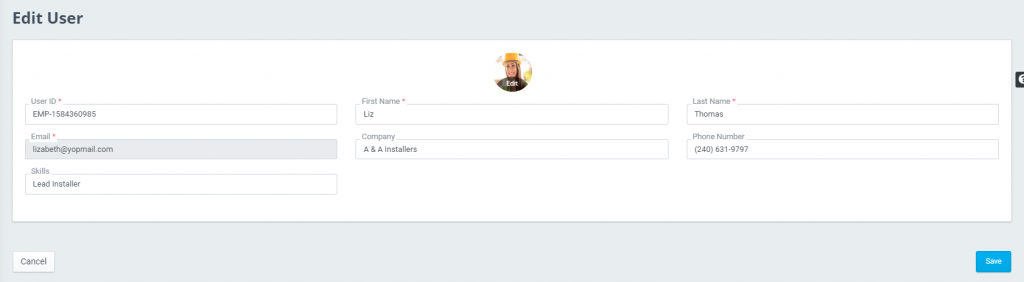
Setting User Profile
Another step in setting up your account is the user profile. To create your user profile,
- Click on your company logo at the top right of the navigation bar and click the user profile field.

- This will open the User Profile page and you need to click the Edit Profile button.

- Here, you can upload a profile picture of your choice by clicking on Add Profile Image.
- Then, set about adding certain information related to your profile such as user ID, first and last name, email, company name, contact information, etc by filling in the required fields. Click Save.