Generating Job Report
As a Field Service Administrator or Supervisor, verify that all aspects of the job, from tasks to final invoicing, have been carried out correctly as per the instructions. If all looks good, you can access a job report, customize it, and email it to the customer directly from ReachOut.
Follow the below steps to generate the Job Report:
- Go to Jobs > All Jobs.
- Click on a completed job (identified by the status indicator label)
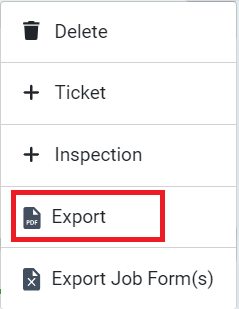
- Click the three dots icon on the right side of the Job Details page.
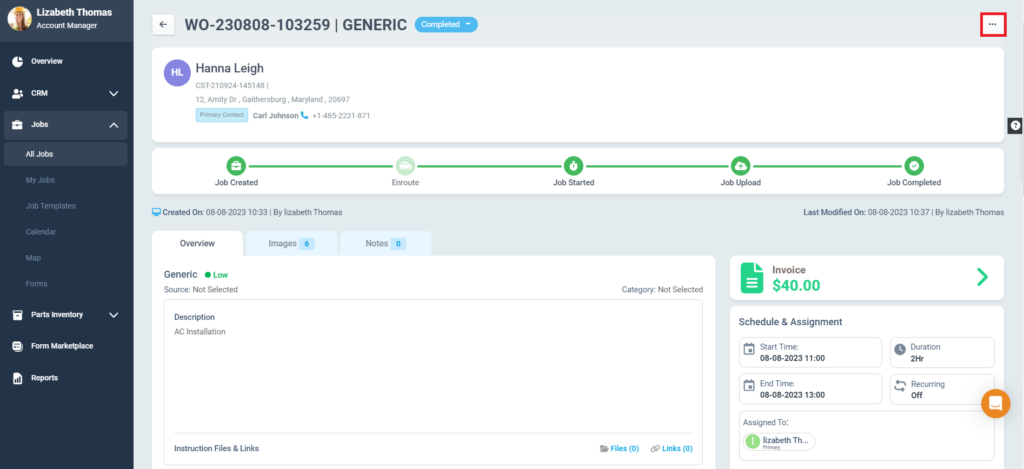
- Select the Export icon to generate the job report.
Note: The job report can be generated only for completed jobs.
- The report will open in PDF format, including:
- Cover page
- Job details
- Agent log
- Attached forms
- Form images
- Job gallery images
- Estimates
- Invoices
- Click Sync to Hub button to sync the job details to the Customer Hub.
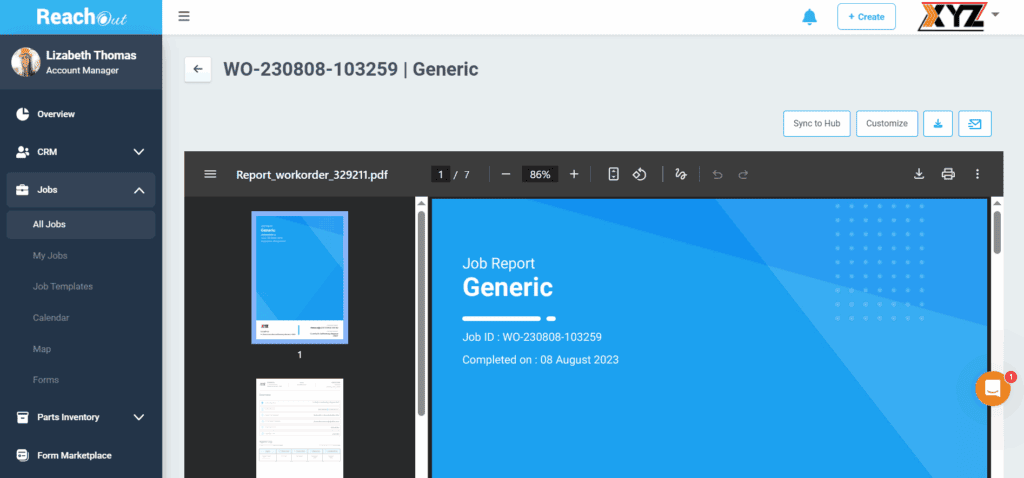
- If you want to customize the Job Report, click the Customize button.
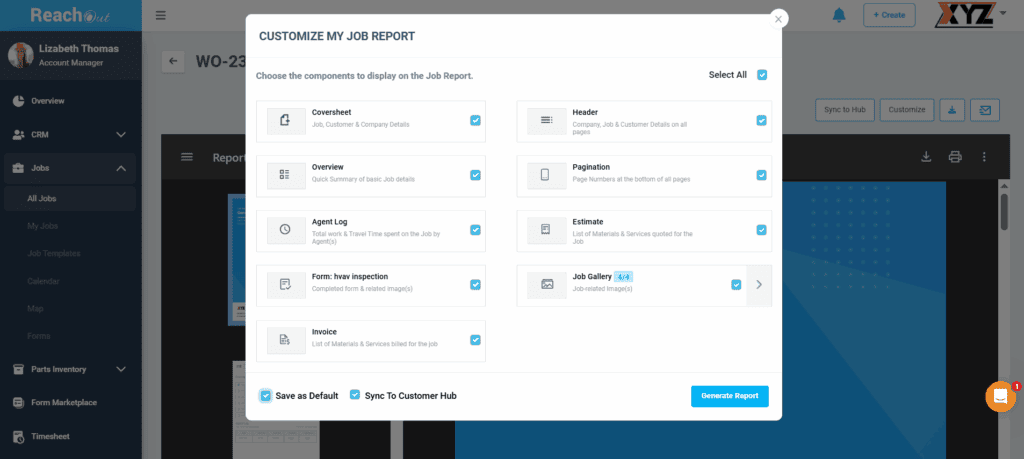
- In the ‘Customize My Job Report’ pop-up:
- Click on the required sections or the Select All icon to include all sections in the job report.
- Click the Save as Default option to set the report settings as default, which will help generate the report with the default settings in the future.
- Click the Sync to Customer Hub option to sync the job report to Customer Hub.
- To generate the report, click the Generate Report button.
- Click the Download icon to save a copy of the job report.
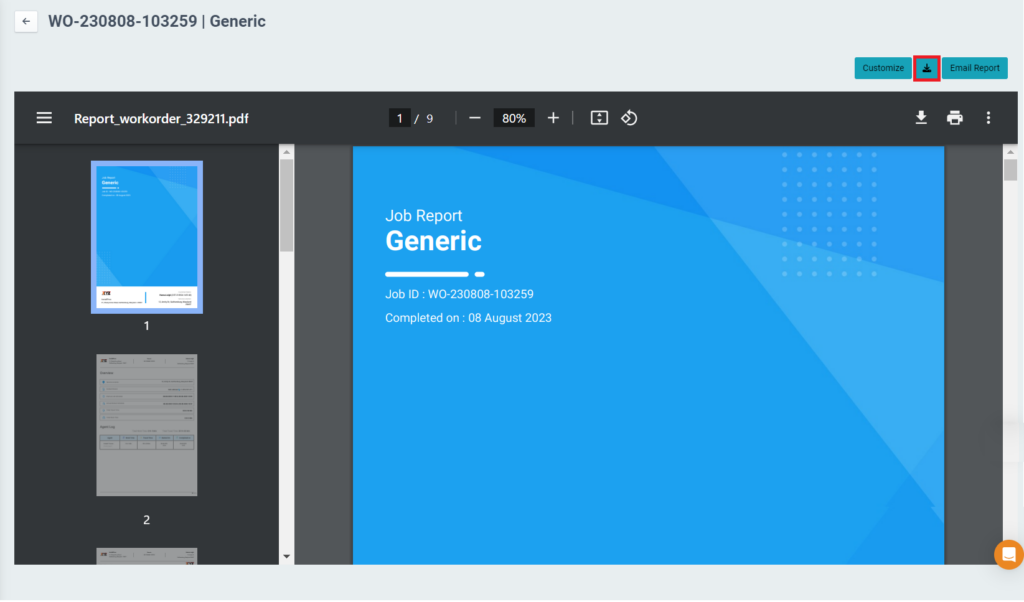
- Click the Email Report button to attach the job report and send it to the customer.

- You may add more recipients to the email report and edit the email content if required.
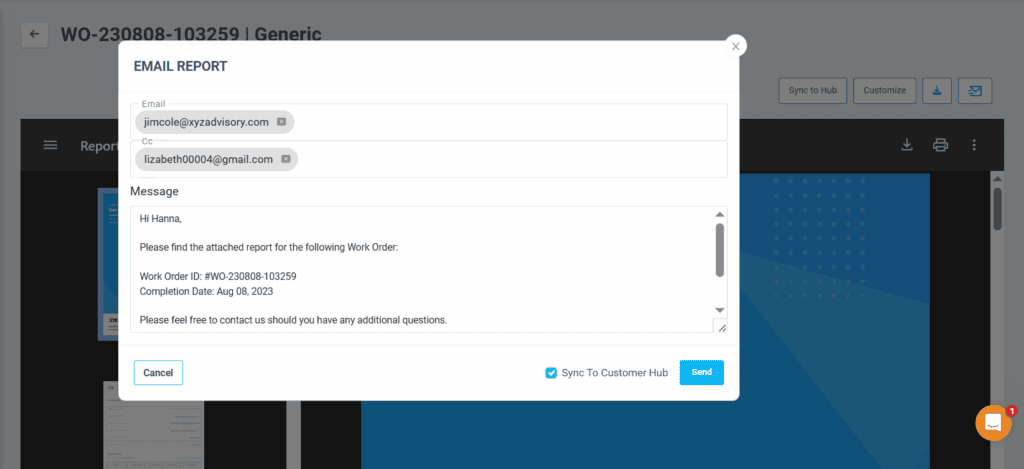
- Click the Sync to Customer Hub option to sync the job report to Customer Hub.