Ticket Creation on Mobile
Field agents can use the mobile app to create and manage tickets while at work, provided the Administrator has enabled the ticket creation feature from the Web App.
Adding Tickets
- Tap on the Customers menu from the home screen and tap on a customer to view its details.
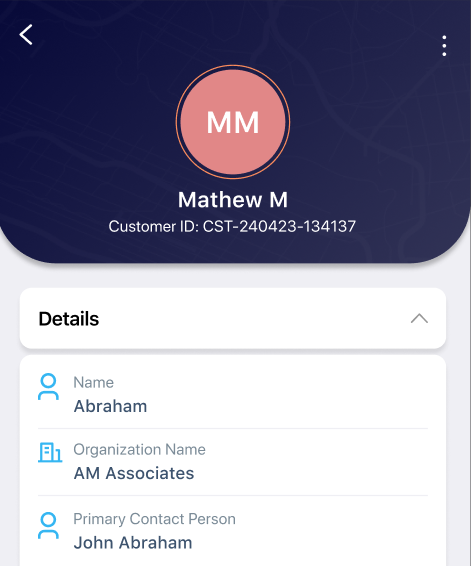
- Tap on the three dots icon on the top right and on the Create Ticket option.
Note: You can also create tickets from:
- The Customer Listing page by tapping the three dots icon against a customer and tapping the Create Ticket option.
- The Tickets page by tapping the + button at the top right.
- In the Create Ticket pop-up:
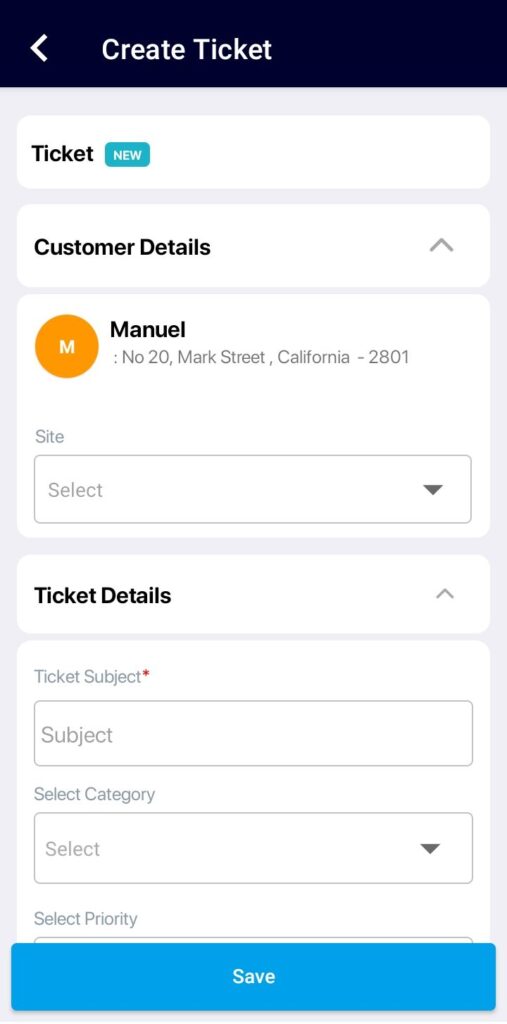
- Select the Customer
- Enter the Ticket Subject
- Select the Category, Priority, and Assignee
Note: The Assignee field will appear only if Ticket Assignee is set to Let field agent choose the assignee in Settings > Preferences > General.
- Enter the Ticket description
- Tap the Upload icon to add attachments
- Tap Save to create the ticket.
The tickets created for the customer will be listed under the Tickets tab on the Customer details page, sorted by latest first.
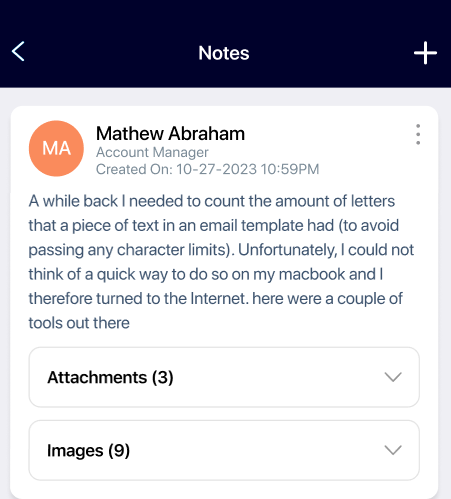
Adding Notes
To add notes to a ticket:
- Tap the right arrow in the Ticket Overview section.
- Tap the + button to add a note.
The mobile ticket creation feature in ReachOut enables field agents to efficiently raise and manage tickets directly from their mobile devices. By providing real-time access to ticket creation and updates, it ensures quick issue reporting, better communication, and seamless collaboration between teams on the move.